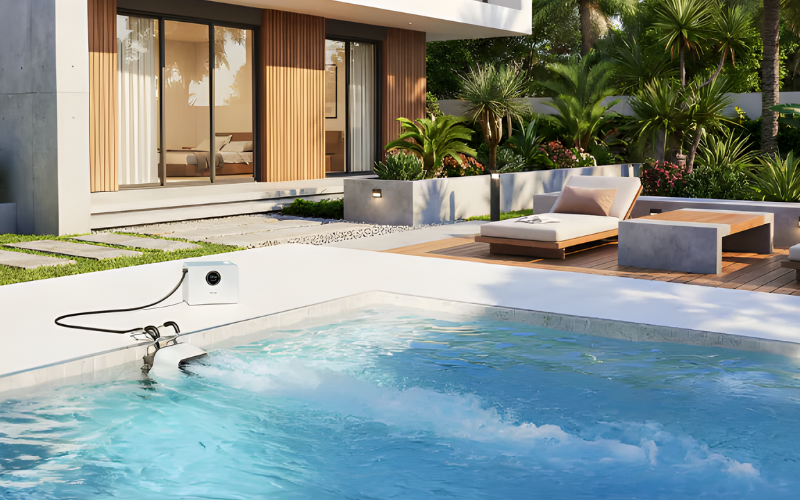
A swim jet can turn a compact pool into a useful training space, but placement matters.
Even a powerful current may feel poor if the unit is installed in the wrong position. The swimmer may experience uneven resistance, excessive turbulence, or a training lane that feels too narrow.
The goal is to create a clear path for the water and a comfortable area for the swimmer.
In most pools, the best position is at one end of the longest clear section. The current should travel along the main length of the pool rather than across it.
Several other details also affect the final result.
Use the Longest Clear Direction
The first step is to identify the longest usable line through the pool.
This is not always the same as the pool’s total length.
Steps, benches, tanning ledges, ladders, and attached spas may reduce the clear swimming area.
The swim jet should normally face toward the longest open section.
This gives the current more room to develop before it reaches the opposite wall.
It also gives the swimmer more freedom to adjust position.
A longer water path can help reduce the feeling of reflected water returning too quickly toward the swimmer.
Center the Current When Possible
A centered position is often the simplest choice.
When the swim jet sits near the middle of one end wall, the swimmer can stay near the center of the pool.
This provides more clearance on both sides.
It also reduces the risk of one side wall being much closer than the other.
Side-wall clearance matters because swimming creates waves.
If the swimmer is too close to one wall, those waves can bounce back quickly and interfere with the main current.
A centered swimming lane usually feels more balanced.
In irregular pools, perfect centering may not be possible. In that case, choose the area with the greatest amount of clear water around the swimmer.
Avoid Aiming Directly at Steps
Steps and benches can interfere with water movement.
If a strong current travels directly toward a large step area, the water may hit the structure and return toward the swimmer.
This can create turbulence.
The effect may be especially noticeable in a short pool.
Try to aim the current toward a clear wall rather than toward a complex set of underwater features.
If the pool has a large tanning ledge, avoid using that side as the main swimming lane when another open direction is available.
A simple water path is usually easier to manage.
Leave Enough Space Between the Jet and Swimmer
The strongest current is usually found near the outlet.
That does not mean the swimmer should stay as close as possible.
Very close to the source, the flow may feel concentrated.
A little farther away, the current can spread across a wider area.
This often creates a more comfortable swimming zone.
The ideal distance depends on the flow design and the swimmer’s ability.
A stronger swimmer may prefer to stay closer to the current source. A beginner may feel more comfortable farther away.
The pool should provide enough room for both positions.
This is why placement should consider more than just where the equipment fits.
Think About Flow Width
Flow width becomes important once the swimmer starts moving.
A narrow current may feel strong in the middle but much weaker around the shoulders or legs.
The unit should be positioned so the widest part of the current aligns with the main swimming space.
If the system sits too close to a side wall, part of that useful flow may be wasted against the wall.
A centered installation gives a wider current more room to develop.
When choosing a swim jet for pool training, it is useful to consider both the available mounting position and the width of the swimming zone. A system that fits physically may still be a poor match if its current cannot develop properly in the available space.
Check Water Depth at the Training Position
The swimmer should also have enough depth below the body.
This matters more at the actual swimming position than directly beside the jet.
If the pool floor slopes sharply, moving a few feet forward or backward may change the depth significantly.
Avoid placing the main training zone over a shallow shelf.
The swimmer should be able to kick naturally without worrying about touching the bottom.
Enough depth can also improve water circulation around the body.
This is especially helpful for breaststroke and butterfly.
Consider the Return Flow
Water does not disappear after it moves past the swimmer.
It must circulate back.
A good placement allows water to move around the sides or underneath the main swimming zone without creating strong opposing currents.
Poor circulation can make the swimmer feel water moving in several directions at once.
This is one reason very tight corners are usually not ideal.
If the current source is placed in a narrow section of the pool, water may have fewer paths to return.
A more open area usually supports smoother circulation.
Portable Systems Give You More Freedom to Experiment
If the system is portable, you may not need to choose the final position immediately.
Test more than one location.
Try swimming with the unit near the center of one end.
Then move it slightly if the pool shape creates uneven water movement.
Pay attention to where you naturally hold position.
Also notice whether one side of your body feels more resistance than the other.
Small placement changes can sometimes improve the swimming experience significantly.
This flexibility is one advantage of portable systems.
Fixed Systems Need More Planning
Permanent installations require more careful decisions.
Once brackets, electrical connections, or structural components are installed, moving the system may be difficult.
Measure first.
Check the available swimming length, water depth, and side clearance.
Consider where the swimmer will actually be positioned when using the current.
It is also useful to think about how other people use the pool.
The swim jet should not create an unnecessary obstacle near a common entry point if another location works equally well.
Keep the Main Lane Free of Obstacles
The best swimming lane is usually the simplest one.
Avoid placing floating accessories, large pool toys, or other equipment directly in the current path during training.
Ladders should not interfere with arm movement.
Ropes and cleaning equipment should also be moved away.
The swimmer should have a clear zone from the current source to the opposite side of the pool.
This improves both comfort and safety.
Placement Can Matter as Much as Power
A stronger system cannot always compensate for poor positioning.
If the current hits a wall too quickly, reflects from steps, or travels through a narrow section, adding more power may simply create more turbulence.
Good placement allows the current to do its job efficiently.
The ideal setup usually places the swim jet at one end of the longest clear section, with the flow directed through the center of the usable swimming area.
There should be enough depth below the swimmer, enough width on both sides, and enough distance for the current to spread.
When those conditions are met, the swimming lane feels more stable and natural.
The result is not just a stronger current.
It is a better place to train.